To make contact cards
1 To make a new contact card, press New in the Contacts main view.
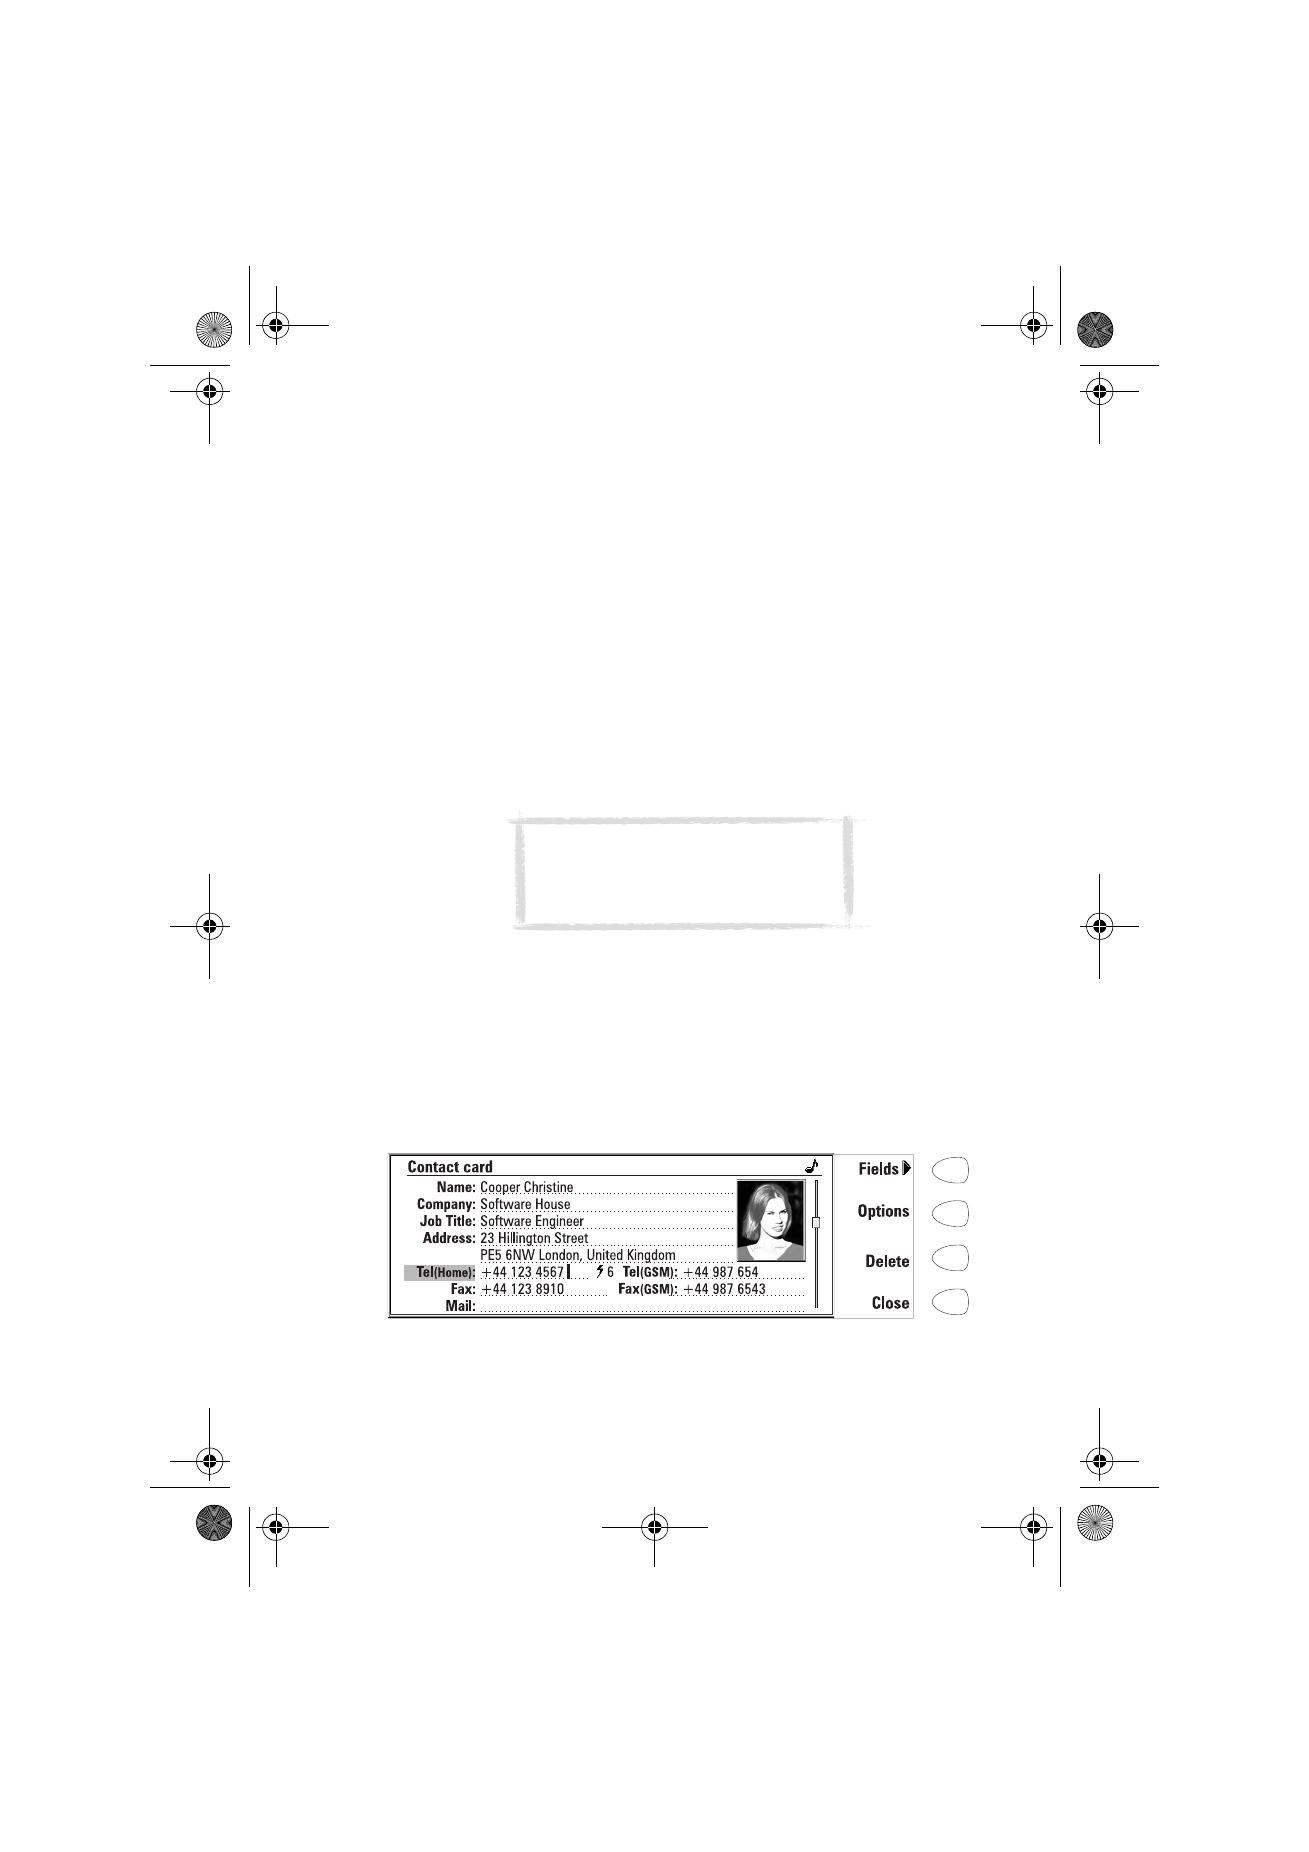
2 When the new contact card opens, enter the contact information in the
various fields. Use the arrow keys to move from one field to another. You
can add lines to the Address and Note fields with the Enter key.
3 To return to the Contacts directory, press Close.
When storing phone numbers or DTMF sequences, you can use hyphens and
spaces to arrange the appearance of the strings. This will not affect the way
the numbers or DTMF tones will be dialled.
To add new fields to a contact card
1 Press Fields in the currently opened contact card. See figure 2.
2 Press Add field. A pop-up box opens, listing the available fields.
3 Select a field and press OK. There can only be one Name, Job title,
Company, Note and Password field.
Figure 2
Tip: When entering phone numbers into
the Tel fields, storing a + character in
front of the country code will allow you
to use the same phone number abroad.
Um_spock3.bk Page 41 Thursday, June 1, 2000 10:11 AM
42
©2000 Nokia Mobile Phones. All rights reserved.
To customise the label of a field
1 Press Fields in the currently opened contact card.
2 Select a field and press Change label.
3 Select one of the predefined labels or scroll down to the field with a dotted
line and write the label text, e.g. Modem, and press OK.
To remove the selected field, press Delete field. The Name field cannot be
removed.
Contact card options
When you press Options in an opened contact card, the following options
become available:
Ringing tone — You can set a specific ringing tone for each contact in the
Contacts directory. Select a tone from the list, and press Select. The
icon
appears at the top of the contact card. See figure 2. In order to use this
function, however, the Individual ringing tones setting must first be set on.
See ”Telephone settings” on page 53.
Attached image — You can attach a picture of the contact to the contact card.
You can then send the picture with a business card, and the picture is shown
on the display when the person calls you.
Note: The Tel/Fax field is for alternating calls, the
Tel(Server) field for sending bookings to remote
calendar servers, and the Password field for the
calendar booking password. See ”Multiple calls” on
page 50, and ”Calendar booking” on page 107.
Note: Remember to put wireless phone
numbers into the Tel(GSM) fields of the
contact cards. Otherwise you cannot
send SMS messages to these numbers.
Note: If the communicator cannot find the
relevant contact card within three seconds
from receiving an incoming call, the default
ringing tone Nokia tune will replace the
selected individual ringing tone. This may
happen if you have several hundreds of contact
cards stored in your communicator.
Um_spock3.bk Page 42 Thursday, June 1, 2000 10:11 AM
43
©2000 Nokia Mobile Phones. All rights reserved.
The picture must first be stored in JPEG format in the Contact images
subfolder of the Downloaded files folder, where it is then selected. Choose a
picture and press OK.
When a picture is attached to a contact card, it is automatically adjusted to
the proper size. If there is an old picture in the contact card, it will be replaced
by the new picture. If you want to keep the original picture, make a copy of it
and give it a different name, or move the copy to another folder, before you
attach the new picture.
Speed dials — You can set a speed dial number for the selected contact card.
To set speed dials
Speed dialling is a quick way to call frequently used phone numbers. You can
assign speed dials to eight phone numbers. Number 1 is reserved for calling
your voice mailbox. For information on how to use the speed dials, see ”To use
speed dialling” on page 137.
1 Press Options in an opened contact card and select Speed dials. All phone
number fields of the contact card are shown.
2 Select a field to which you want to assign a speed dial and press Change.
3 Select a number and press OK. The speed dial number will be shown in the
contact card with the icon
. See figure 2.
To change or remove speed dials
1 Select the speed dial you want to change or remove and press Change.
2 Move the selection frame to the new location and press OK. If you want to
remove a speed dial location, choose None.
Note: If you want to attach a picture to a
contact card located in the contacts
database of the memory card, the picture
must first be stored in the Contact
images folder of the memory card.
Um_spock3.bk Page 43 Thursday, June 1, 2000 10:11 AM
44
©2000 Nokia Mobile Phones. All rights reserved.
To store DTMF tones
For information on how to send DTMF tones, see ”Multiple calls” on page 50,
or ”To send DTMF tones” on page 138.
If you need both a voice and a DTMF phone number for the contact, store the
DTMF sequence in the Tel field, in which case the phone number and the DTMF
sequence must be separated by one of the special characters in table 1. Or add
a DTMF field to the contact card with the Add field command.
To use the Menu button
Pressing the Menu button in an opened contact card opens a new set of
options:
Duplicate card — Creates a copy of the current card.
Copy contents — Copies the contents of the card to a clipboard. You can add
this information to documents by pressing Ctrl-V.
Next card — Opens the next contact card in the directory.
Previous card — Opens the previous contact card in the directory.
Fetch — If you have selected the URL field of a contact card with the selection
frame, pressing Fetch starts the WWW application and opens a connection to
the first URL address in the field.
Belongs to groups — Shows all the groups of which the current contact is a
member.
To view the contact information on your SIM card
1 Press the Menu button in the Contacts directory, and select the SIM card
memory option.
2 Select the contact with the selection frame and press Open.
To add a new contact to the SIM card memory, press New.
To remove the selected contact(s) from the SIM card memory, press Clear.
To return to the Contacts main view, press Close.
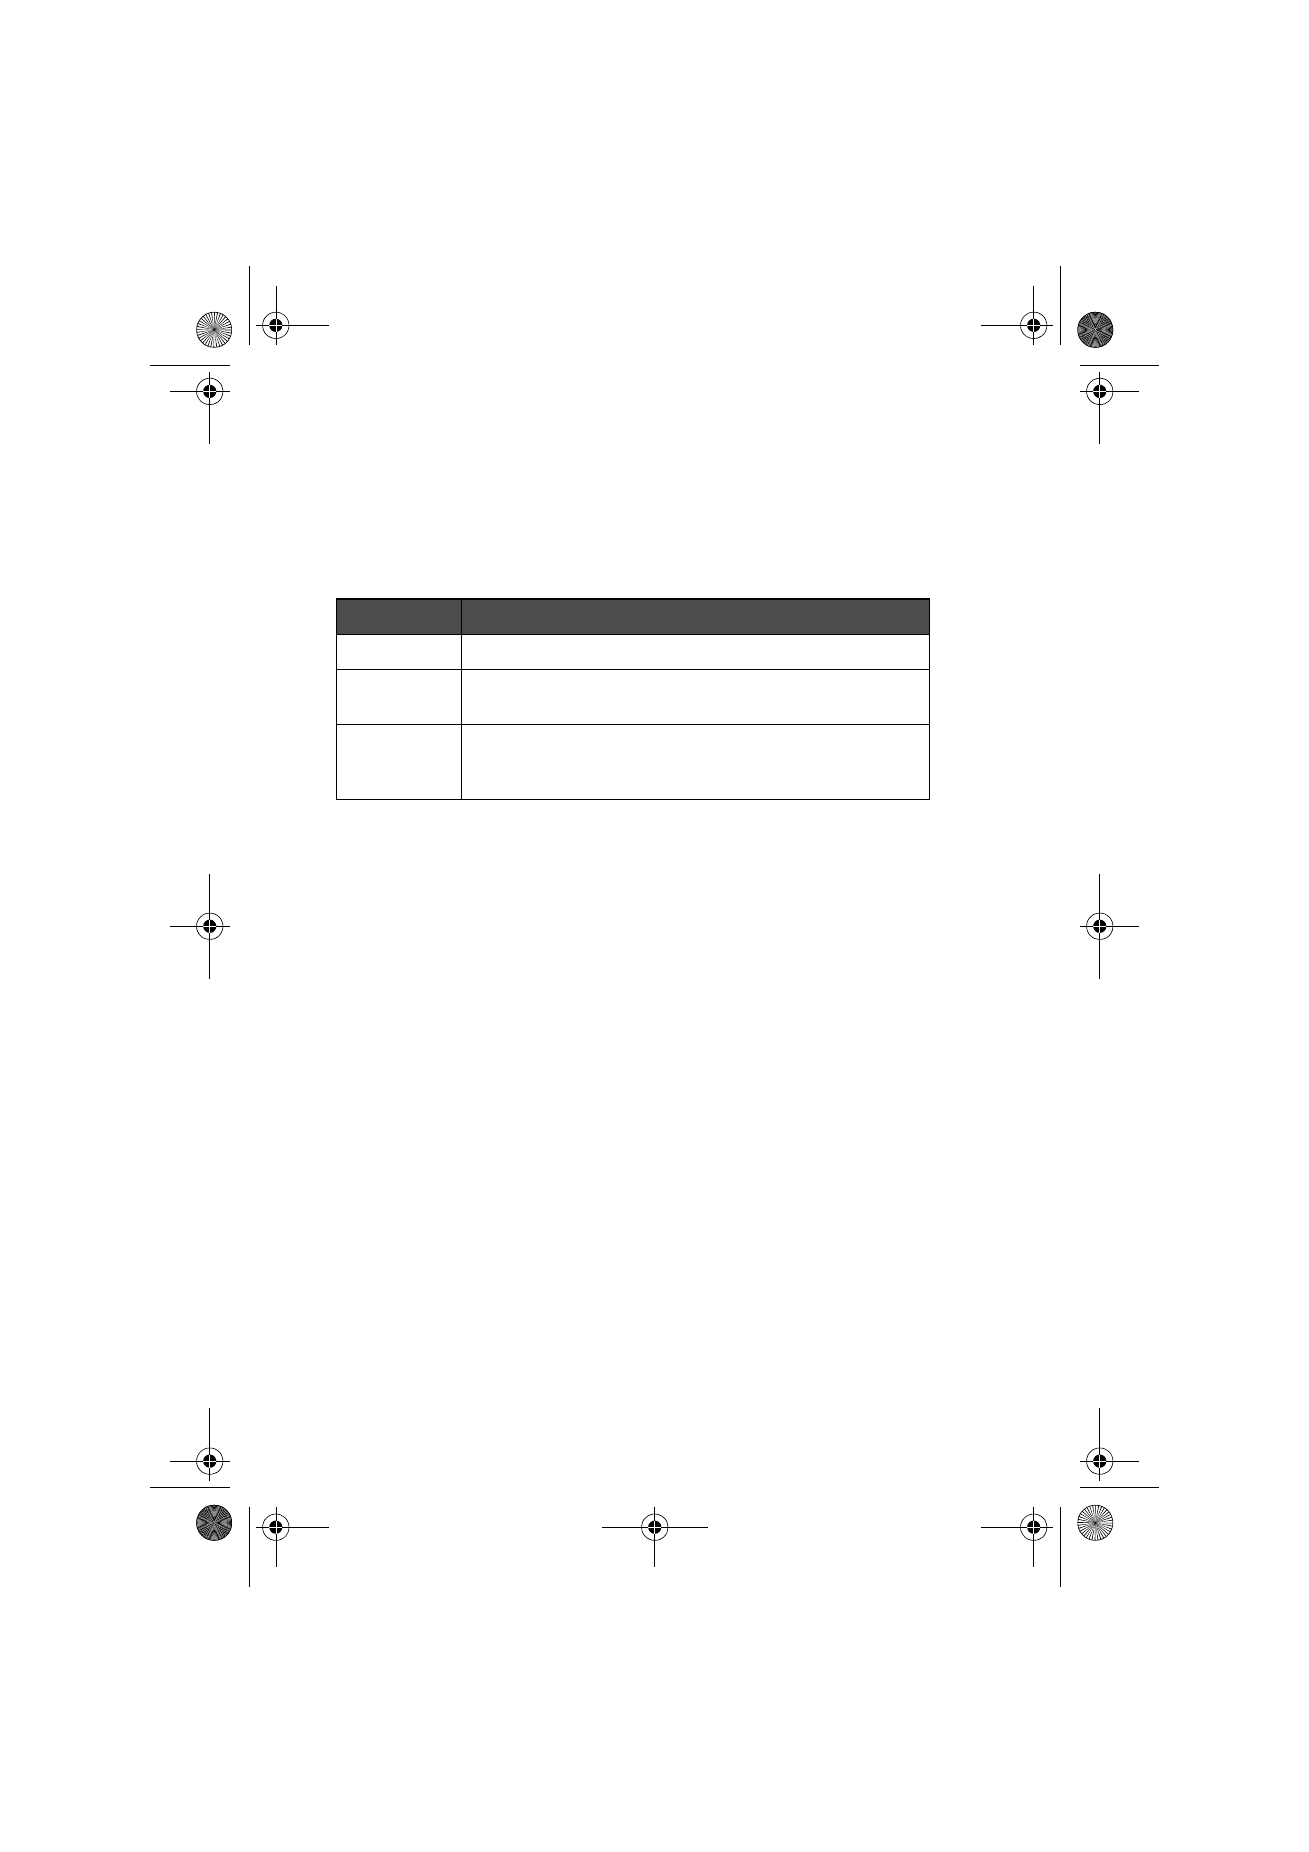
Character
Function
* and #
May be used if the DTMF service requires them.
p (pause)
Inserts a pause of 2.5 seconds in front of, or between,
DTMF digits.
w (wait)
When the “w” character is stored in a sequence, the rest
of the sequence is not sent until you press Send again in
the Telephone application.
Table 1
Um_spock3.bk Page 44 Thursday, June 1, 2000 10:11 AM
45
©2000 Nokia Mobile Phones. All rights reserved.
If you press the Menu button in the SIM contents view, the following options
become available:
Sort by name/Sort by location — Arranges the contacts in alphabetical order or
in the order of their memory location.
Copy SIM contacts — Copies the selected contact(s) to the Contacts directory.
SIM info — Shows the amount of data in the SIM card memory.